Getting Started
Form new Zigbee network
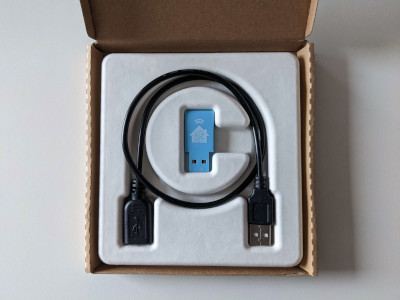
Gathering the required items
- Home Assistant installation on your board (e.g. Raspberry Pi or Home Assistant Blue), latest updates installed.
- SkyConnect dongle and cable.
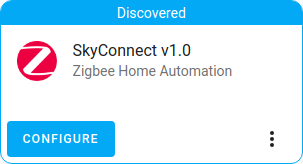
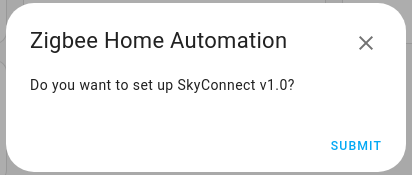
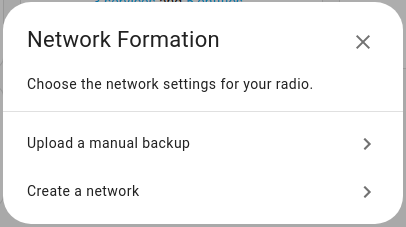
Setting up a new Zigbee network using SkyConnect
Step 1
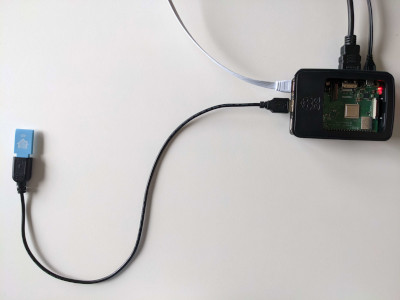
Plug the extension cable into SkyConnect
- Plug the Home Assistant SkyConnect into the USB extension cable.
- Plug the extension cable into your Home Assistant instance.
- If you are using the standalone Home Assistant Container installation method, make sure SkyConnect is mapped to the container.
- USB 3.0 ports and USB 3.0 drives can cause interference with 2.4 GHz protocols, including the ones provided by Home Assistant SkyConnect. It is important to use the USB extension cable and to position the Home Assistant SkyConnect away from possible interference sources.
This video shows the effect of interference.
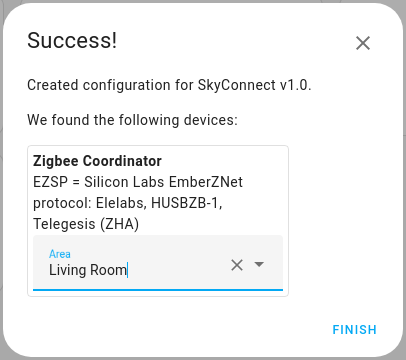
Step 5
Add devices to area
- Once the network has been set up, add the Zigbee Coordinator to an area.
- Select Finish.
- Your Zigbee devices are now added to your Zigbee network.
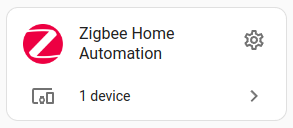
Step 6
Add Zigbee devices
- Click on 1 device and select Add devices via this device. ZHA will now search for Zigbee devices in pairing mode.
- Put your Zigbee device into pairing mode.
- If ZHA can't find your Zigbee device make sure that SkyConnect does not suffer from interference. Use the extension cable and try placing the SkyConnect further away from potential devices which can cause interference.